


Login to your account (navigate to therapysitebuilder.com)
Click this icon:
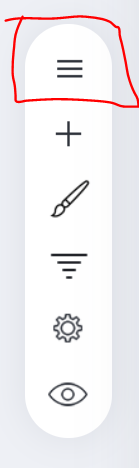
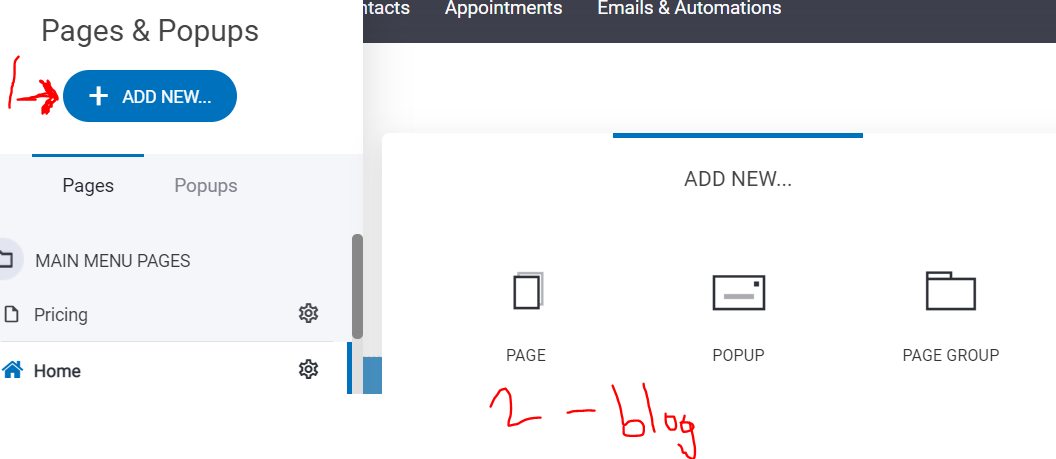
Next, click the "add new" button then you should see an option that says "blog." If you do not see an option that says "blog," then your blog page is already setup. Click back on the icon with three horizontal lines (shown above) and scroll down to the page of your website that is entitled "blog."

(should look something like the above icon)
You will then be in your blog with abilities to create new posts, edit settings, and so on.
One of the most important points at this point is to make sure you have a good content creation process. We HIGHLY recommend you FIRST create content on a Google Doc or Word Doc before populating your blog in Therapy Site Builder. The reason why, is people often hit the wrong button when using the builder and accidently delete a lot of the content they'd starting writing within the builder. You can preven this from happening by being constientous of where you're clicking, but to save you time, effort, and frustration, just start all your content on a blank page that auto-saves (Google Docs/Word, etc).
Once your article(s) is done, you can go ahead and format the particulars in your blog functionality. Keep in mind, the blog function will not allow you to publish your blog without first going to your settings (below).
I'd recommend going to your settings and adding relevant tags, titles, etc. at the start of your article process BEFORE adding your content. That way, when you click the "update" button to submit your blog, it won't give you a pop-up message saying you need to go to your settings first.
If you have additional questions on any functionality highlighted in this article or your question was not answered, please contact support by using our chat icon on our website or when logged into your account.